

Oar Rope Wrap Kit
$25.00
Availability:
In Stock (4)
Check Other Locations Availability
Available in store
CloseIf you are ready for the challenge of wrapping you own oars, then this is the kit for you. Comes with instructions.
Description
If you are ready for the challenge of wrapping you own oars, then this is the kit for you. Comes with instructions.
Note: Every inch of wrap uses 3-4 feet of 3/16” diam. rope, depending on the diameter of the oar. Wrap zones of 20-24 inches will use 80+ feet of rope.
Features
- 80’ Braided Nylon Rope (3/16” diam.) enough for (1) 15-18” wrap or (2) 7-8” wraps
- Wrapping instructions
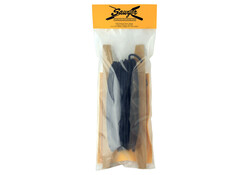
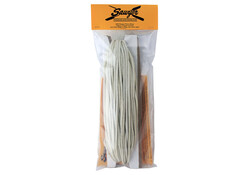
- Available with black or white rope
Specifications
| Rope Material: | 3/16" Braided Nylon |
| Rope Length: | 80 feet |
Warning: Wrapping oars is a challenging process. We recommend reading through all the instructions before you start.
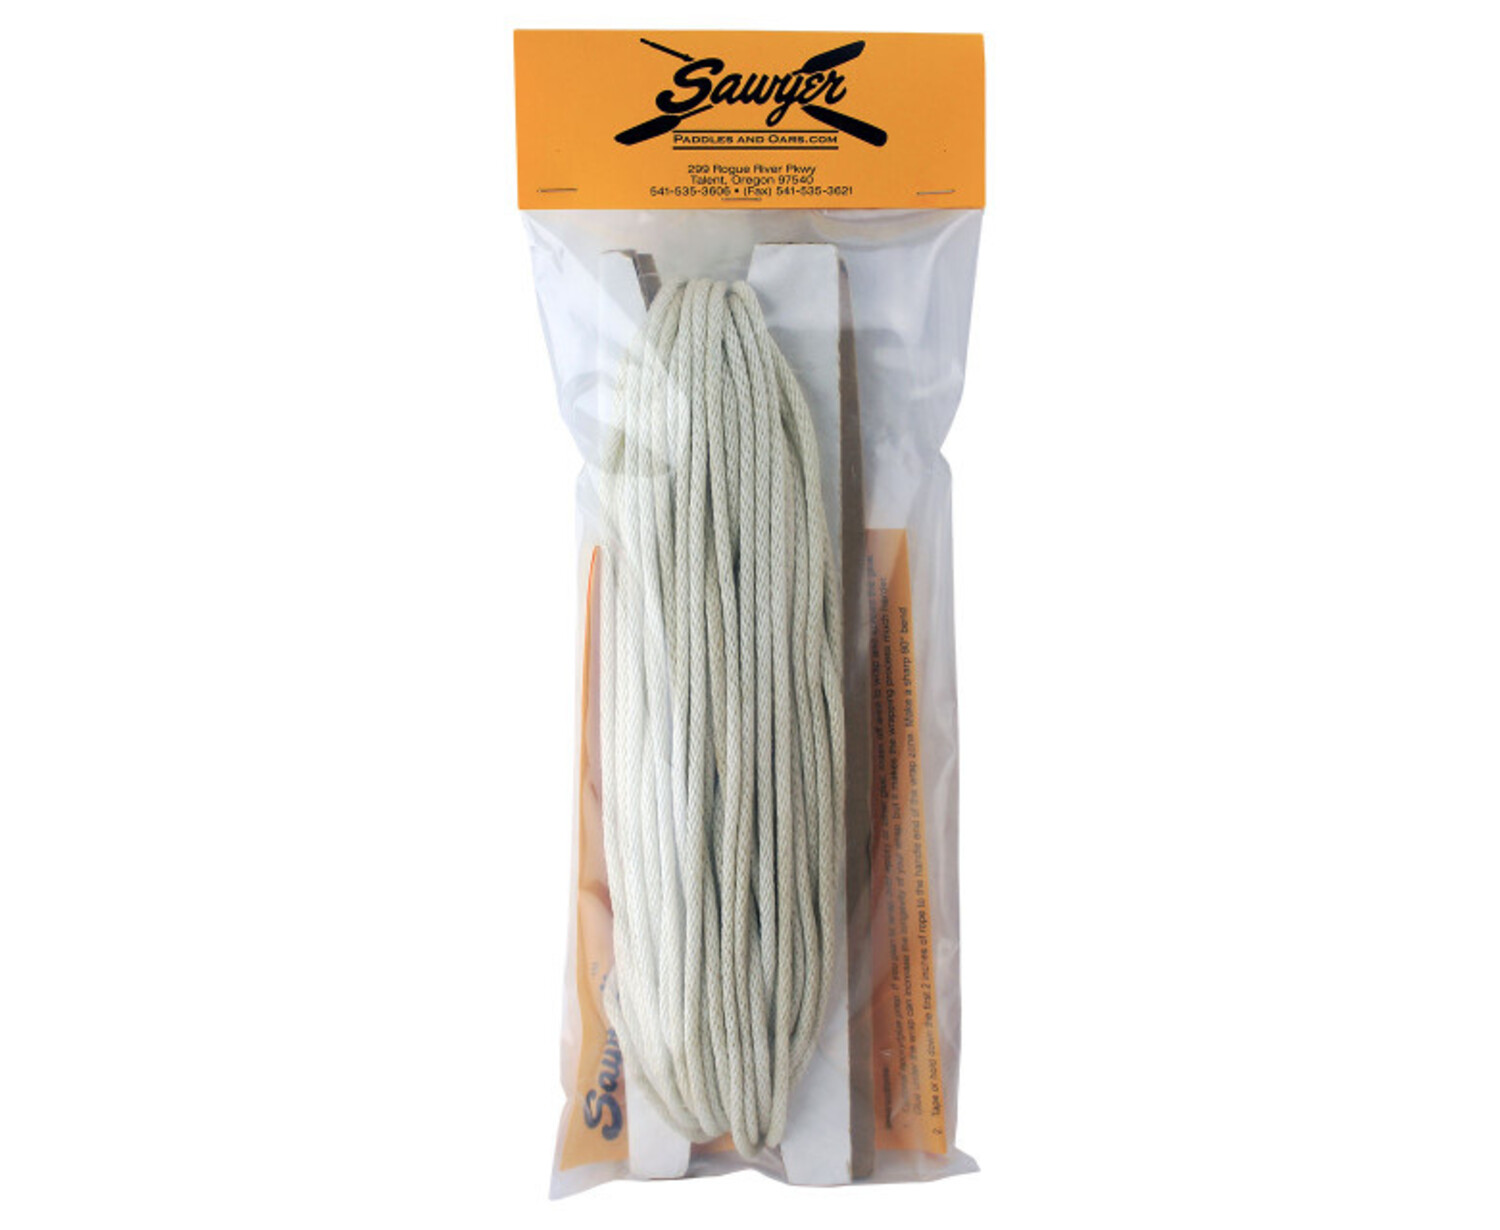
Sawyer's Rope Wrap Kit Includes:
- 80’ Braided Nylon Rope (3/16” diam.)
enough for (1) 15-18” wrap or (2) 7-8” wraps - Wrapping instructions
Tools needed:
- Heavy Hammer
- Block of wood
- Optional glue/epoxy
Preparation
- Take a 2 ft length of your rope and tie the ends together, making a closed loop. This will be used in step 4.
- Determine the area to be rope wrapped: Rough rule of thumb - 2/3 of the oar should be outboard of the oarlock/clip and 1/3 inboard. Other things to consider: distance between oarlocks, the height of oarlocks above the water line, seat height and position, as well as rowing styles.
Note: Every inch of wrap uses 3-4 feet of 3/16” diam. rope, depending on the diameter of the oar. Wrap zones of 20-24 inches will use 80+ feet of rope.
Instructions:
- Optional epoxy/glue prep: If you plan to wrap over epoxy or other glue, mask off the area to wrap and spread the glue. Glue under the wrap can increase the longevity of your wrap, but it makes the wrapping process much harder.
- Tape or hold down the first 2 inches of rope to the handle end of the wrap zone. Make a sharp 90° bend (perpendicular to the shaft) and then wrap over the top of it, entrapping the rope to the oar. It is important that this first wrap is very tight and the rope is kept taught (stretched) at all times. One or two helpers (i.e., oar turners) can greatly improve your success.
- Proceed spiraling the rope down the shaft, keeping the wraps tight together until you are about 6 inches from your predetermined endpoint.
- Slip your 2 ft loop of rope under the next wrap. A little more than half of the loop should be laid down on the shaft so that it can be wrapped over with the rest laying on the existing wrap. Continue wrapping, stopping while at least an inch or so of the loop is still free.
- At this point, cut the rope so that an inch of the rope can be tucked through the loop and forcefully pulled back under the wrap in the step above. Do not loosen tension at any time during the wrap - especially now! Hold tight to the bitter end until it is entrapped and pulled under the wrap.
- Next, place the wood block at the other end of the loop (this loop end should be coming out of the wrap approximately 6” from the end of the wrap.) With the handle end of the oar against something solid, take your hammer and drive the block towards the handle, which will pull the loop out from under the rope wrapping. The loop should entrap the bitter end and pull it under the wrap, where it should be firmly held. The loop, after pulling the bitter end some 2-3” under the wrap, should come free and be easily driven out. If a gap remains at the exit point of the loop, you can use your hammer (claw end works well) to lightly rearrange the wrap to close this gap.
- Install Optional Rubber Stops: Rubber stops go on easiest when warm (soak in very hot water or lay them out in the sun). Brace the blade against a solid surface. Slip the stop over the handle and pull down on the outermost surface of the rubber stop. The donut should flop inside out and back as it goes down the shaft. This takes a little practice. Try locking your fingers and forming a circle with your hands. Catch the outside of the rubber donut with the heel of your palms and pull down hard. Final adjustment can be made by brute force, moving the stop an 1/8” at a time, working around the shaft.


